
Create Your Own Mini ‘Milk Jug Greenhouses’ With These 15 Simple Steps
Ever thought an empty milk jug could help grow plants? Turning trash into treasure, these mini greenhouses are one of my favorite ways to start seeds early.
They’re super easy to make, and you probably have everything you need sitting around the house. I’ve used these for years, and it’s always fun to see those first little sprouts pop up.
If you’re ready to give it a try, here are 15 simple steps to get you growing!
1. Gather Your Materials
Before you unleash your inner gardener, assemble all the essentials. Picture this: a colorful array of milk jugs, scissors, potting soil, and seeds, all waiting for their transformation. Lay everything out like a chef preparing a feast, and feel the excitement build as you imagine the mini greenhouses coming to life.
Think of these items as your trusty sidekicks, ready to assist you in this creative adventure. Each component plays a crucial role, so check your list twice and ensure nothing is missing. With everything at your fingertips, you’re set to craft some magic!
2. Mark the Jugs

Grab a permanent marker and let your artistic side shine. Drawing a line around the jug’s circumference, about two-thirds of the way up, gives you a guiding path. This step is like sketching a blueprint for your soon-to-be greenhouse masterpiece.
Marking the jugs is where precision meets creativity. It’s more than just drawing lines; it’s about imagining the potential within that simple plastic shell. With each stroke, you’re one step closer to a thriving garden sanctuary.
3. Cut the Jugs
Your scissors are the sculptor’s chisel, ready to carve out potential. Cutting along the marked lines, you’ll feel the satisfaction of shaping your future greenhouse. Each precise snip brings you closer to a masterpiece of sustainable gardening.
As you cut, envision the transformation from everyday jug to eco-friendly greenhouse. It’s a task that requires focus and care, turning an ordinary object into something extraordinary. With the cutting complete, you’re halfway to creating a nurturing plant environment.
4. Create Drainage Holes

Think of this step as adding breathability to your greenhouse. Poking small holes at the bottom ensures proper water drainage, crucial for happy plant roots. It’s like giving your plants the gift of fresh air and healthy hydration.
Creating these holes is a delicate dance between too few and too many. You want enough for drainage without making a sieve. This thoughtful touch ensures your plant babies don’t drown, setting the stage for a thriving garden.
5. Add Potting Soil
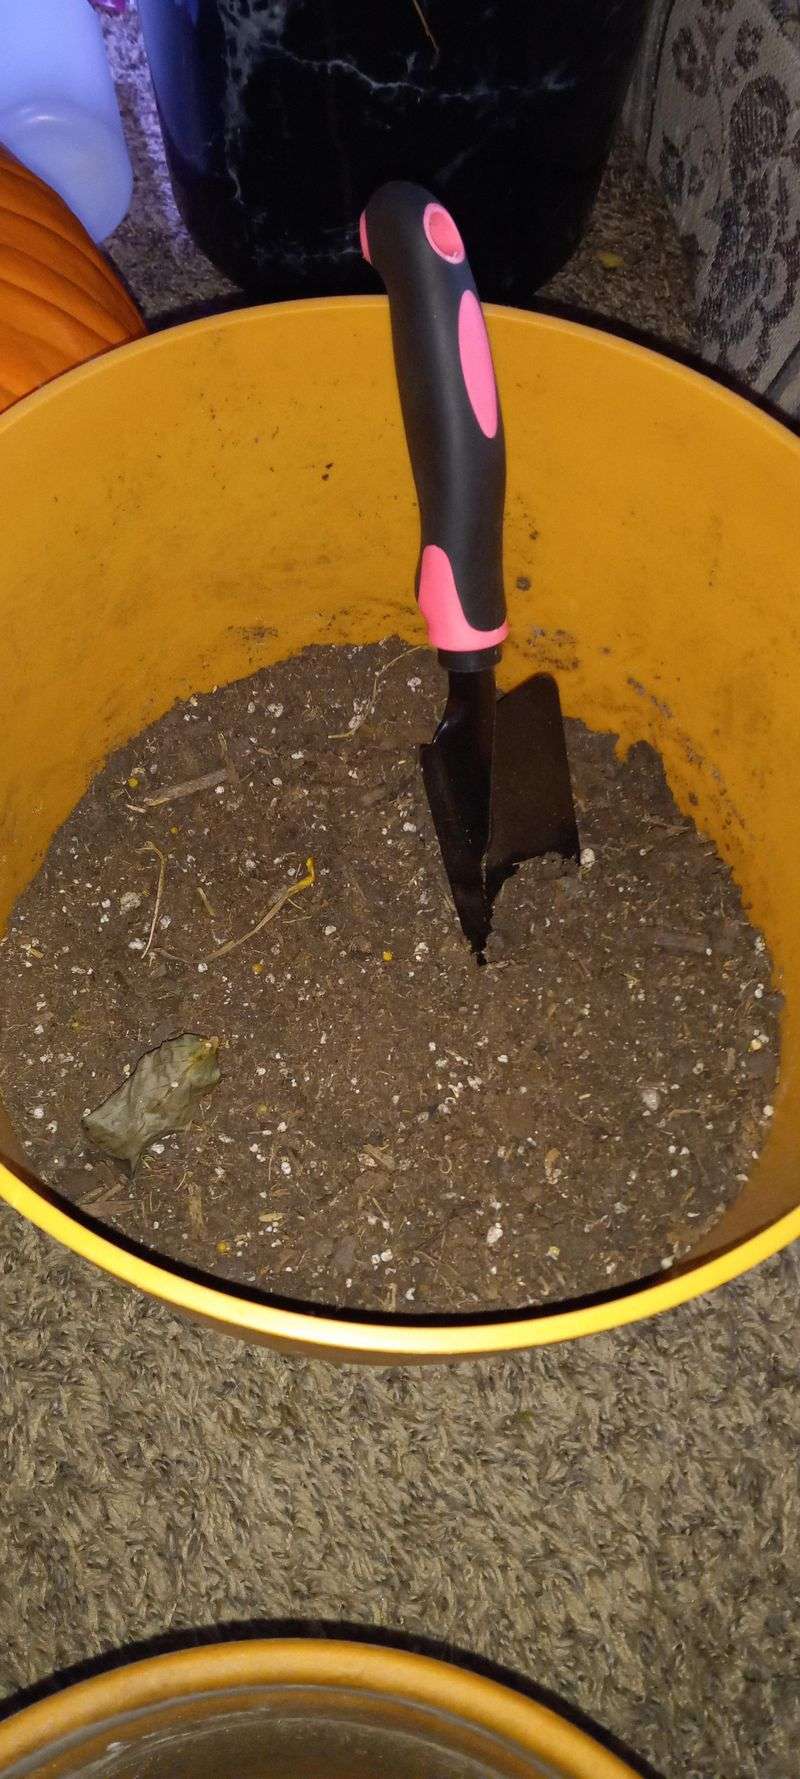
Now comes the fun part—adding the life-giving soil! Pouring rich, dark potting soil into your jug feels like laying the foundation of a new world. This is where your green dreams begin to take root.
Imagine the soil as the cozy bed where your plants will lay their heads. It’s full of nutrients and potential, ready to nurture your seeds into lively sprouts. With the soil in place, your greenhouse is ready to welcome its leafy guests.
6. Plant Your Seeds
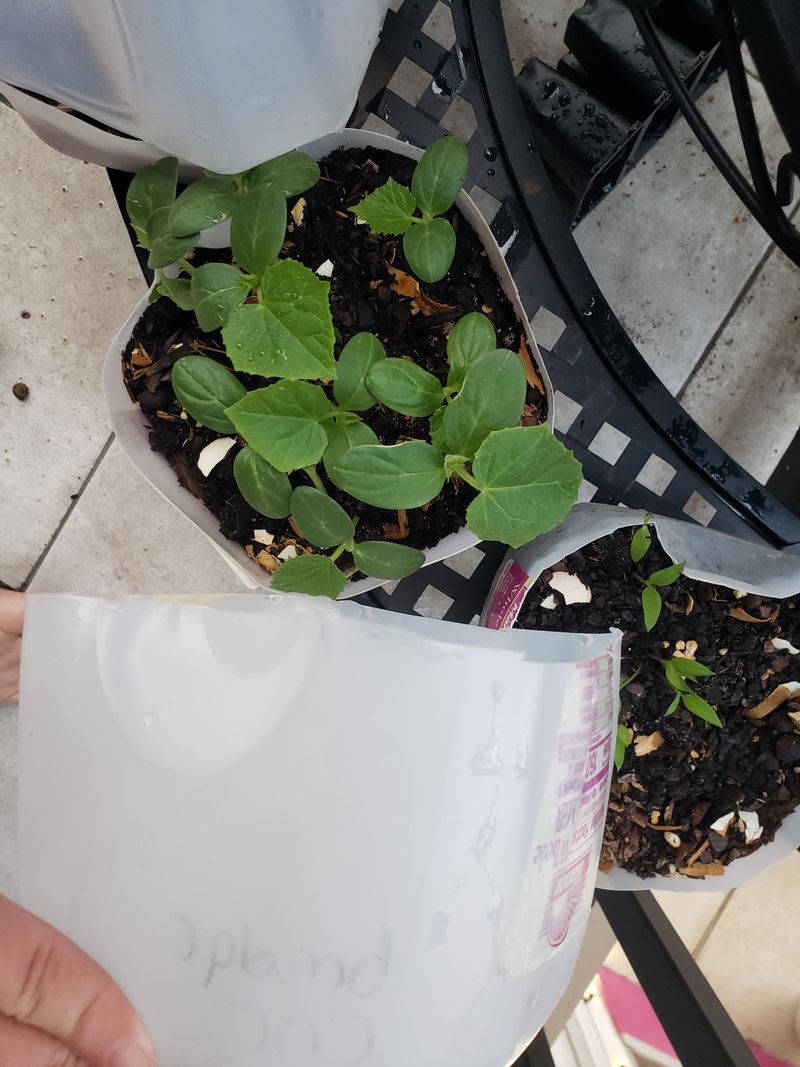
Planting seeds is like setting tiny wishes into motion. Gently press each seed into the soil, giving it a magical start. Each seed holds promise, ready to burst into life with the right care.
As you plant, think of each seed as a story waiting to unfold. You’re the author of this garden tale, and every seed is a new chapter. With each press into the soil, you’re closer to a vibrant garden narrative.
7. Water Your Seeds

Quench your seeds’ thirst with a gentle sprinkle of water. It’s like giving them a refreshing drink, encouraging them to awaken and grow. Be gentle; a soft touch ensures the seeds stay undisturbed.
Watering is a soothing ritual that connects you with your little green companions. It’s a moment of nurturing, where you provide the sustenance they need to thrive. With each drop, you’re fostering life and growth.
8. Reattach the Jug Top
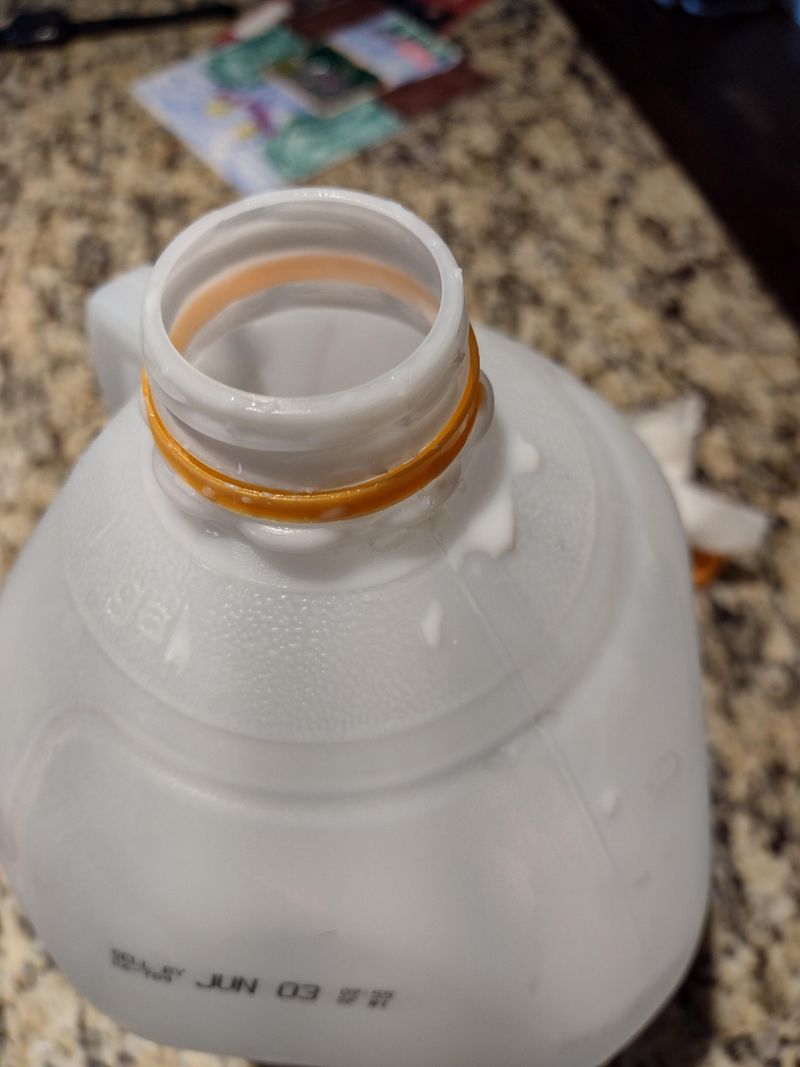
Rejoining the jug halves is like closing the lid on a treasure chest. By securing them together, you create a snug environment ideal for nurturing growth. It’s a gesture that signifies readiness for the journey ahead.
This step transforms your jug into a protective haven for your plants. It’s more than just reassembly; it’s the creation of a microclimate where your seeds can flourish. With the top back on, your greenhouse is primed for success.
9. Secure With Tape
Duct tape becomes your greenhouse’s guardian, sealing the halves for stability. Wrapping the tape around ensures the parts stay unified, creating a sturdy structure. It’s the binding force that holds the promise of growth.
This step is about more than just security; it’s about commitment. By taping the jug, you’re pledging to nurture and protect your budding plants. It’s a simple act that reinforces your garden’s foundation.
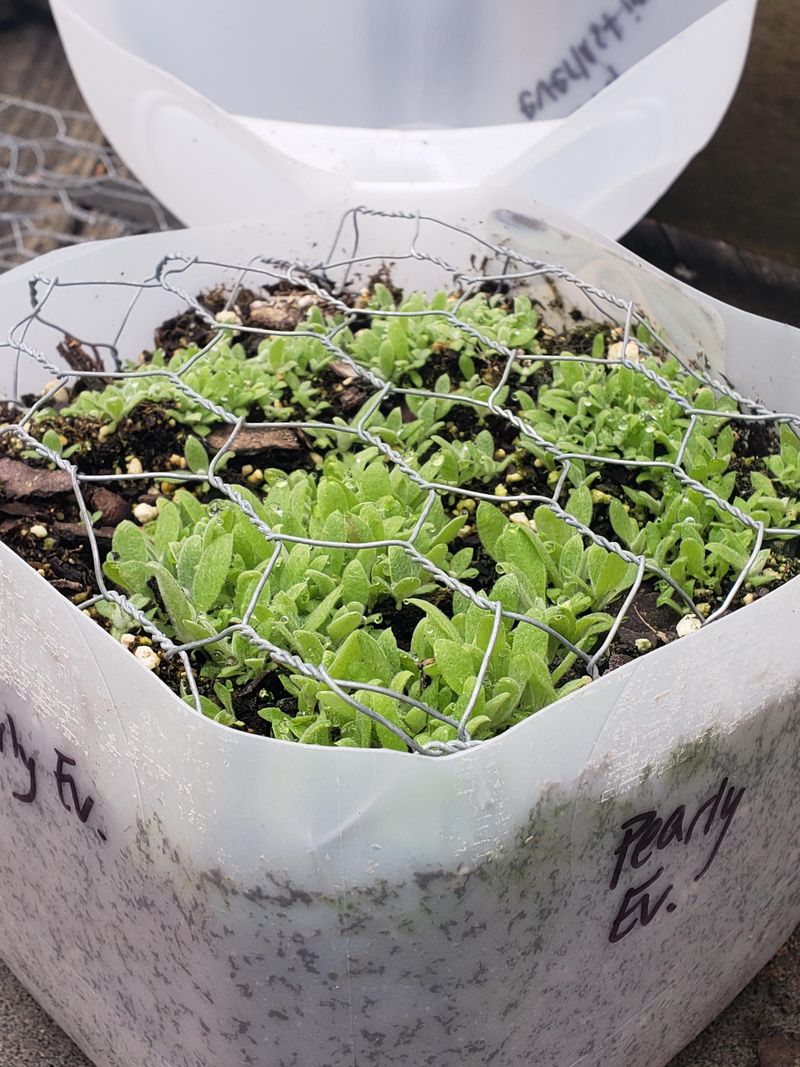
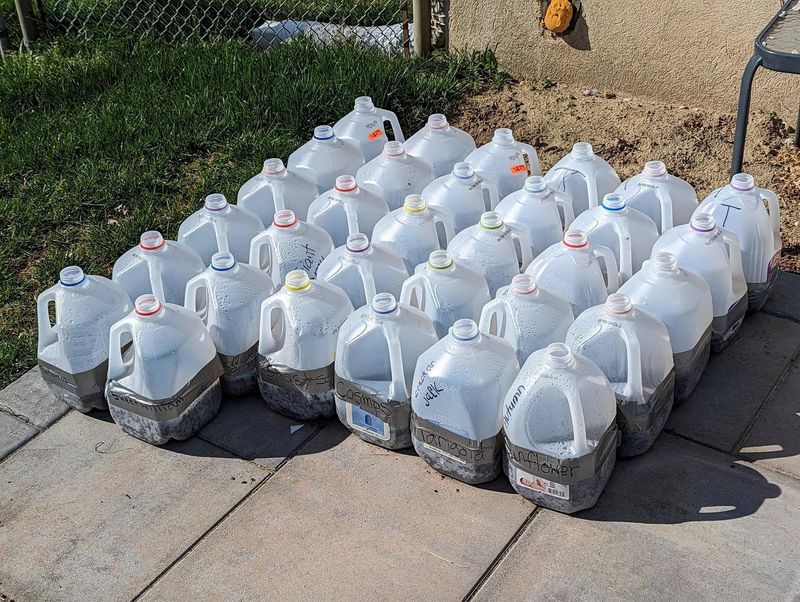
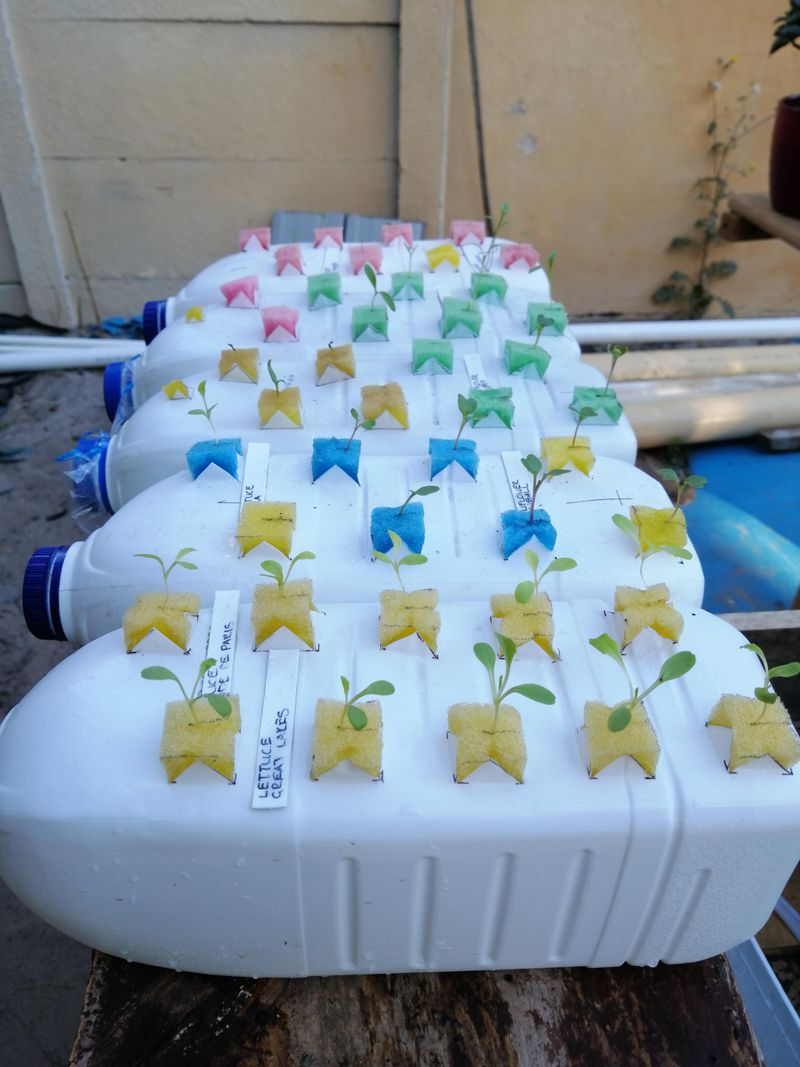
10. Label Your Greenhouse

Naming your greenhouse is like naming a new friend. Use a label or tape to jot down the plant type and date, adding a personal touch. It’s a charming step that connects you more deeply with your garden.
Labeling turns your greenhouse into a personalized project. It reminds you of the excitement of new beginnings and helps track growth. With each label, you create a garden that’s uniquely yours.
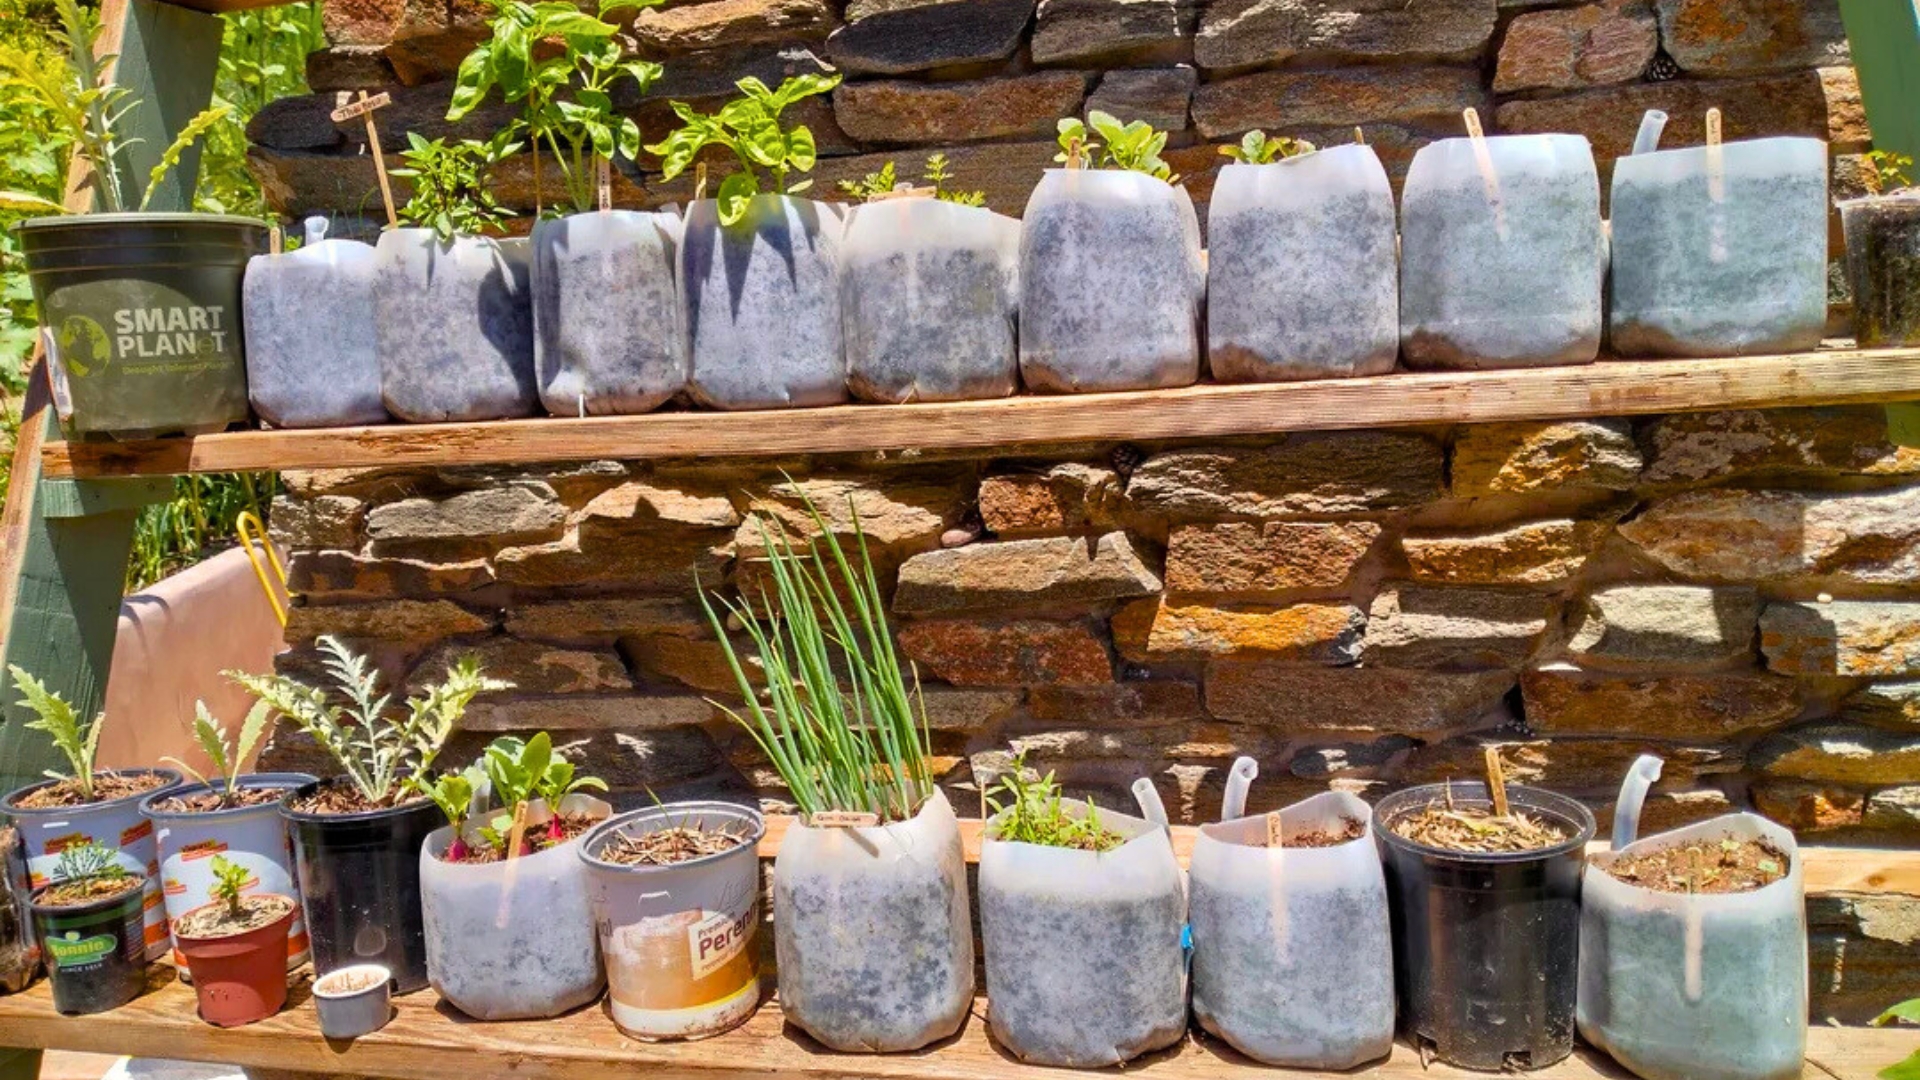
11. Place in Sunlight
Position your greenhouses where they can bask in the sun’s glow. A sunlit window sill becomes the stage for your plants’ debut, offering warmth and light. It’s like setting up the perfect spotlight for a budding star.
Sunlight is the life force your plants crave, helping them photosynthesize and thrive. This step is all about finding that sweet spot where light meets life. With your greenhouses in place, you’re ready to watch them grow.
12. Monitor Moisture Levels
Your plants’ well-being hinges on balanced moisture. Check the soil regularly, ensuring it’s neither too wet nor too dry. It’s a delicate balance that keeps your plant babies thriving.
Monitoring moisture is a mindful practice, akin to checking on a sleeping child. It requires attention and care, offering reassurance that all is well. With this vigilance, you ensure a happy and healthy garden.
13. Adjust for Ventilation
Ventilation might be the unsung hero of your greenhouse’s success. Slightly opening the top lets fresh air circulate, preventing mold and overheating. It’s a breath of fresh air that keeps your plants happy.
Adjusting the ventilation is like fine-tuning an instrument. It ensures your greenhouse environment is just right for flourishing growth. With this tweak, you’re setting the stage for a thriving mini ecosystem.
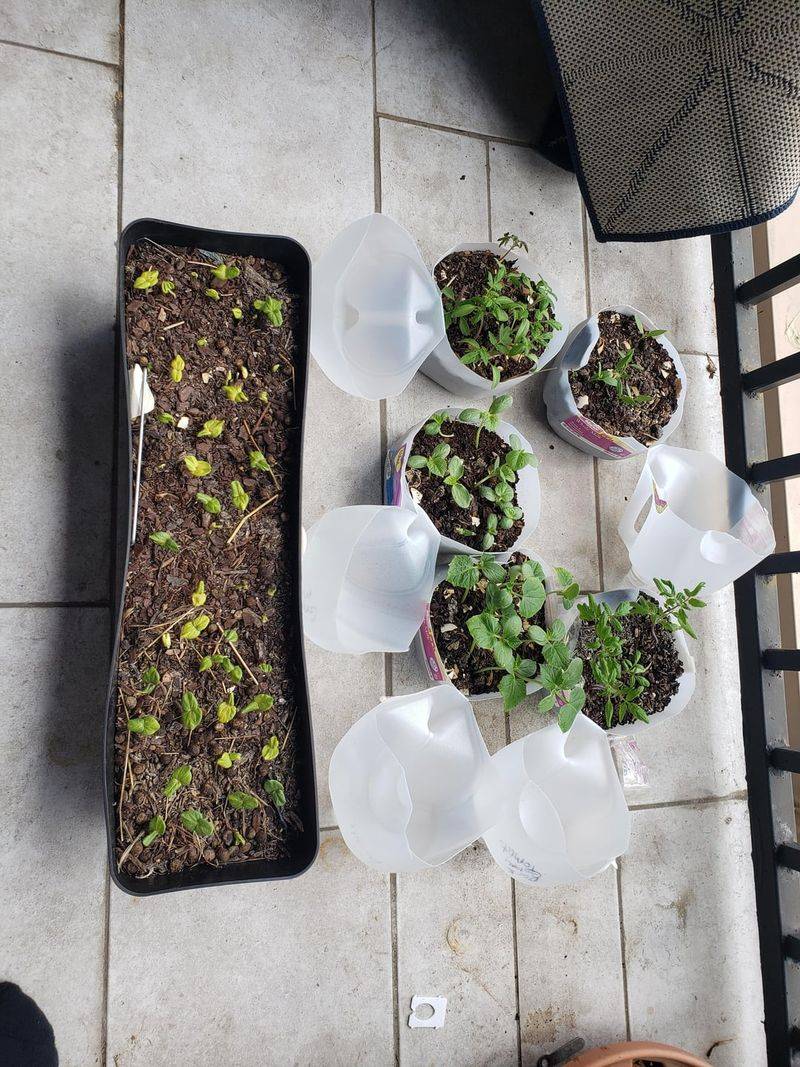
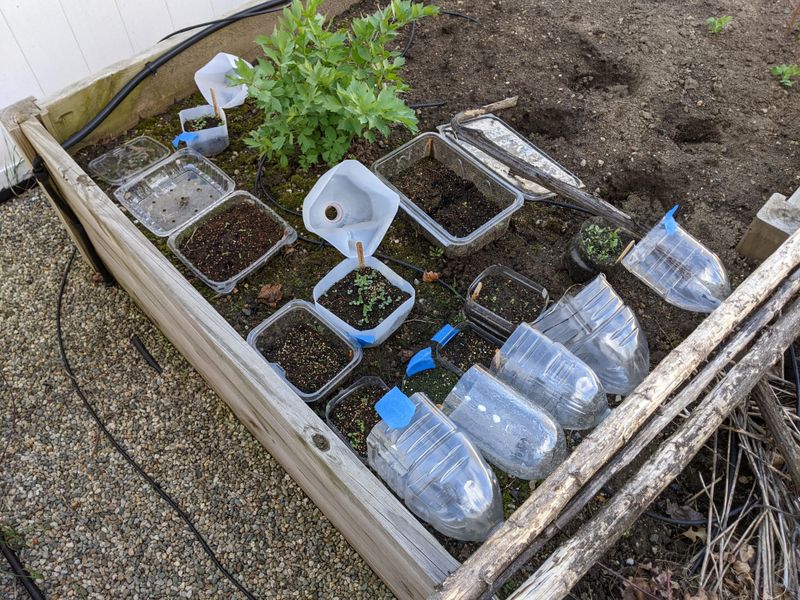
14. Watch for Growth
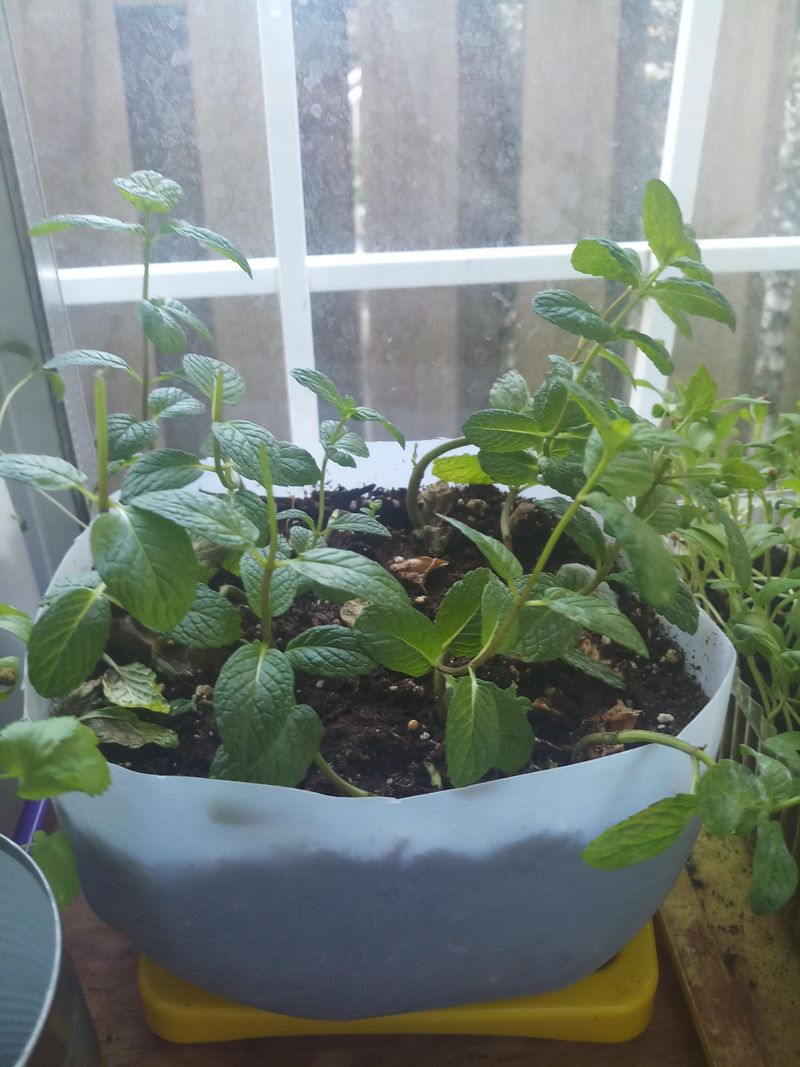
Growth is the reward for your dedication. Keep an eye on your plants, celebrating each sprout and leaf. It’s a joyful process that reaffirms your nurturing efforts.
Observing growth is like witnessing a small miracle unfold. Each new leaf is a testament to your care and commitment. With every sign of life, your gardening journey becomes more fulfilling.
15. Enjoy Your Mini Greenhouse
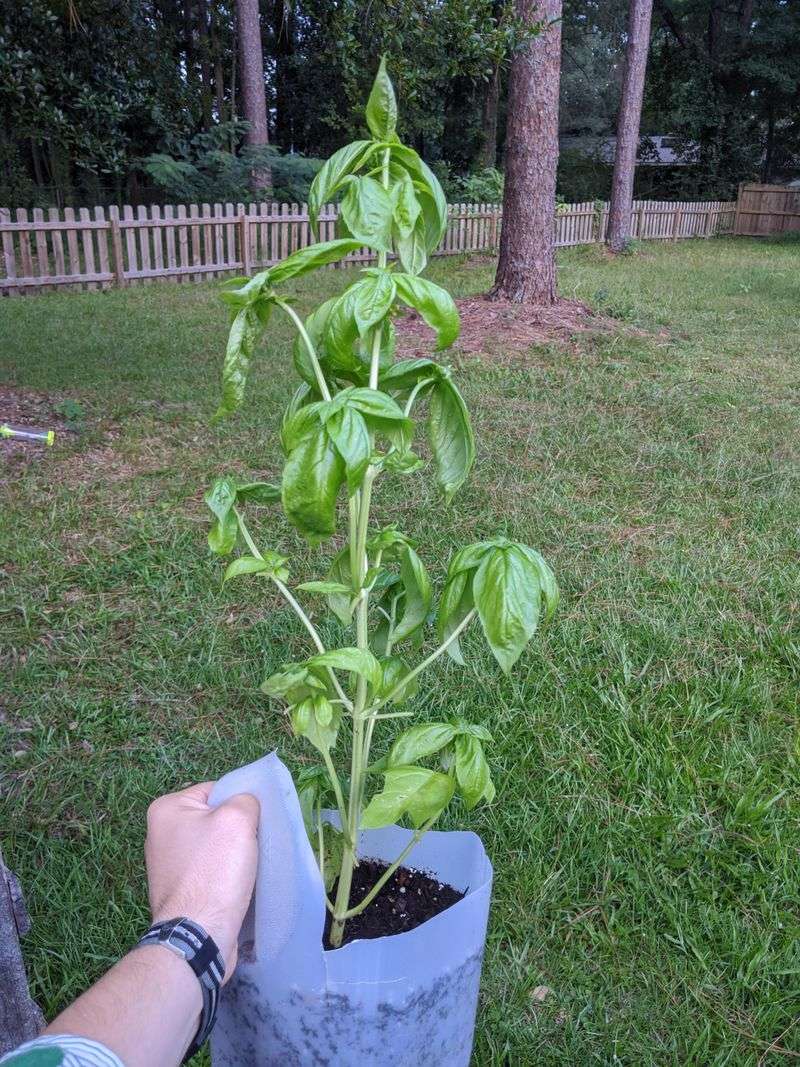
Take a moment to revel in your creation. Admire your mini greenhouses, filled with life and promise. It’s a joyful reflection of your creativity and care.
Enjoying your greenhouse is the cherry on top of your gardening adventure. It represents not just plants but a nurturing spirit and a green thumb. With a smile, you realize the beauty of your sustainable project.